Want to print a hardcover book that looks and feels amazing? Whether you’re a self-published author, a business owner, or just someone with a story to tell, this in-depth guide will walk you through every step of the process. Get ready to transform your manuscript into a tangible masterpiece!
Printing a hardcover book involves several key steps:
- Prepare your manuscript: Ensure it’s in the correct format (PDF is usually best), with proper typography, images, and layout.
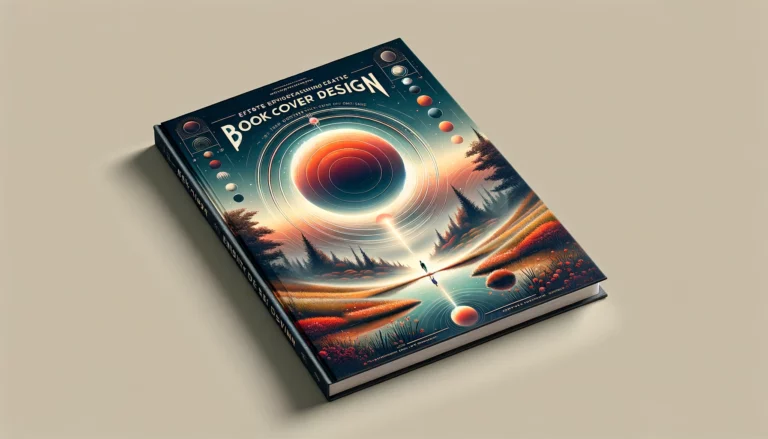
- Design your cover: Create a captivating cover that reflects your book’s content and appeals to your target audience.
- Choose your paper: Select the right paper type and weight for your book’s genre and desired feel.
- Pick a printing method: Decide between offset printing (for larger quantities) and digital printing (for smaller runs).
- Select a binding style: Case binding is the traditional method for hardcover books, offering durability and a high-quality feel.
- Add finishing touches: Consider lamination, embossing, or foil stamping to enhance your book’s appearance.
- Choose a printing service: Research different providers, compare prices, and request samples to ensure quality.
From prepping your manuscript to picking the perfect printing service, this guide covers everything you need to know to create a stunning hardcover book. We’ll explore each step in detail, with tips, tricks, and expert advice to help you make the best decisions for your project.
Hardcover Book Printing: A Quick Reference Guide
| Step | Action Item | Description | Additional Notes |
|---|---|---|---|
| 1 | Prepare Your Manuscript | Ensure manuscript is in correct format (PDF preferred), with proper typography, images, and layout. | Check file formats, typography and layout, image resolution (300 dpi or higher in CMYK), and proofread for typos. |
| 2 | Design Your Cover | Create a cover that reflects book’s content and appeals to the target audience. | Consider dimensions and bleed, cover materials, and design principles. Use tools like Canva and Adobe InDesign. |
| 3 | Choose Your Paper | Select paper type and weight based on genre and desired feel. | Consider coated, uncoated, or textured paper; paper weight in gsm; and match paper to content. |
| 4 | Pick a Printing Method | Decide between offset printing for larger quantities or digital printing for smaller runs. | Consider budget, number of books needed, and timeline. |
| 5 | Select a Binding Style | Choose between case binding for durability or perfect binding for economy. | Consider other options like saddle stitch and spiral binding. |
| 6 | Add Finishing Touches | Consider lamination, embossing, or foil stamping to enhance appearance. | Matte or gloss lamination, embossing/debossed designs, metallic foil stamping. |
| 7 | Choose a Printing Service | Research providers, compare prices, and request samples. | Look for high-resolution printing, quick turnaround, responsive customer service, competitive pricing, and customization options. |
Preparing Your Manuscript

Before you even think about printing, your manuscript needs to be in top shape. This means more than just a good story or compelling content. Think of it like preparing a delicious meal – you need the right ingredients and preparation to make it truly shine.
- File Formats: Most printers prefer PDF files, but some accept DOCX as well. Make sure your file is properly formatted and ready to go. Need to know more about bleed lines? We’ve got you covered in our article “What Is Bleed in Printing and Why Does It Matter?“
- Typography and Layout: Choose fonts that are easy to read and complement your book’s style. Pay attention to margins, spacing, and chapter headings.
- Image Resolution: If your book includes images, ensure they are high-resolution (300 dpi or higher) and in CMYK color mode for optimal printing. You can find more information about image resolution and color modes in this helpful guide from Adobe.
- And of course, don’t forget the most important step: proofreading! A typo-free book is a happy book.
Designing Your Cover

Your cover is the first thing people see. It’s your book’s face, its handshake, its first impression. A captivating cover can entice readers and make your book stand out from the crowd.
- Dimensions and Bleed: Make sure your cover design meets the printer’s specifications, including bleed areas (extra space around the edges) for trimming.
- Cover Materials: Explore your options! Will you go for classic paper, luxurious cloth, or even leather? Each material has a unique feel and conveys a different message.
- Design Principles: Use strong typography, compelling imagery, and a clear visual hierarchy to guide the reader’s eye. Need some design inspiration? Canva and Adobe InDesign are great tools for creating stunning covers.
Remember, your cover should reflect your book’s content and appeal to your target audience.
Selecting the Right Paper

The paper you choose can significantly impact your book’s feel and durability. It’s like choosing the right fabric for a garment – it needs to be comfortable, fit the style, and last.
- Paper Types: Coated paper has a smooth, glossy finish, while uncoated paper offers a more natural look and feel. Textured paper can add a unique touch.
- Paper Weight: Measured in grams per square meter (gsm), paper weight affects the book’s thickness and how it feels in the reader’s hands. A heavier weight generally means a more durable and substantial book.
- Matching Paper to Content: Consider your book’s genre and content. For a photography book, you might want high-gloss paper to showcase the images. For a novel, a cream-colored, uncoated paper creates a classic, reader-friendly experience. To help you choose the perfect paper and GSM for your book, we’ve put together this comprehensive guide.
Printing Methods

Now it’s time to decide how your book will be printed. There are two main methods:
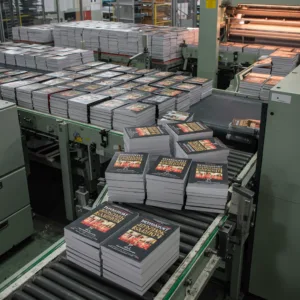
- Offset Printing: This traditional method is ideal for large print runs. It’s cost-effective at scale and produces high-quality results.
- Digital Printing: Perfect for smaller quantities or when you need a quick turnaround. Digital printing is also great for personalized or print-on-demand books.
Choosing the right method depends on your budget, the number of books you need, and your timeline. Our article “Offset vs Digital Printing: Which Is Right for YOU?” can help you weigh the pros and cons.
Binding Options

Binding is what holds your book together, literally. It’s like the backbone of your book, providing structure and durability.
- Case Binding: This is the gold standard for hardcover books. It involves sewing the pages together to create a text block, which is then glued to cover boards wrapped in your chosen material. Case binding produces a robust and long-lasting book, perfect for those who value quality and longevity. You can learn more about the different types of binding in our article “10 Types of Book Binding You Should Know About (With Examples).”
- Perfect Binding: A more economical option, perfect binding involves gluing the pages together at the spine and then wrapping them with a cover. It’s often used for paperback books, but can also be used for hardcovers, especially those with a lower page count.
- Other Options: Saddle stitch binding (staples along the spine) and spiral binding are typically used for booklets or documents rather than full-length books.
Finishing Touches

Think of finishing touches as the icing on the cake. They add that extra layer of polish and refinement to make your book truly special.
- Lamination: Matte lamination provides a subtle, non-reflective finish, while gloss lamination adds shine and vibrancy. Lamination also protects your cover from scratches and wear.
- Embossing/Debossing: These techniques create raised or recessed designs on your cover, adding texture and visual interest.
- Foil Stamping: Add a touch of elegance with metallic foil stamping. This is perfect for titles, author names, or decorative elements.
Remember Evelyn, from our earlier case study? She chose gold foil stamping to give her fantasy novel a touch of magic, and the result was “absolutely perfect,” in her words. These little details can make a big difference!
Hardcover Book Printing Costs
Now, let’s talk about the elephant in the room: cost. Printing hardcover books can be more expensive than paperbacks, but the added durability and perceived value often make it worthwhile. As Joel Friedlander, book designer and self-publishing advocate, wisely said: “A well-designed book is a better book. It’s a fact that can make the difference between a book that sells and one that doesn’t.”
Factors Affecting Cost
Several factors influence the final price tag:
- Print Run Size: The more books you print, the lower the cost per book. This is due to economies of scale – the printer can spread the setup costs over a larger quantity.
- Paper Type and Quality: Higher quality paper will naturally cost more.
- Binding Method: Case binding is generally more expensive than perfect binding.
- Finishing Options: Adding extras like foil stamping or embossing will increase the cost.
- Color Printing: Printing in color is significantly more expensive than black and white.
Tips for Saving Money
- Optimize Page Count: Trim unnecessary content or reduce margins to lower the overall page count.
- Consider Standard Book Sizes: Sticking to standard sizes like 6″ x 9″ or 5.5″ x 8.5″ can minimize paper waste and reduce costs.
- Choose a Less Expensive Binding Method: If your book is suitable for perfect binding, this can be a more budget-friendly option.
- Limit Finishing Options: Use finishing touches strategically to maximize their impact without breaking the bank.
Choosing a Hardcover Book Printing Service
Finding the right printing service is like finding the right partner – you need someone you can trust, who understands your needs, and delivers on their promises.
Key Considerations
- Print Quality: Look for a printer that offers high-resolution printing and vibrant colors. Request samples to see their work firsthand.
- Turnaround Time: How quickly do you need your books? Some printers offer expedited services for a premium.
- Customer Service: Responsive and helpful customer support can make all the difference, especially if you encounter any issues.
- Pricing: Get quotes from multiple providers to compare prices and services.
- Customization Options: Can the printer accommodate your specific needs and preferences?
Recommended Printing Services
- 48 Hour Books: If you’re looking for speed and quality, 48 Hour Books is a great option. They offer a fast turnaround time (5 business days for hardcover books) and have received rave reviews for their quality and customer service.
- IngramSpark: A popular choice for self-published authors, IngramSpark offers wide distribution, including access to bookstores and libraries
- Lulu: Known for its user-friendly platform and variety of formats, Lulu is a good all-around option for printing and selling your books.
- Mainland Printing: If you’re looking for competitive pricing and expertise in bulk printing, especially for larger projects or those with specific requirements, Mainland Printing is an excellent choice. We have years of experience in the printing industry and offer a wide range of customization options to meet your needs.
Tips for Selecting a Printer
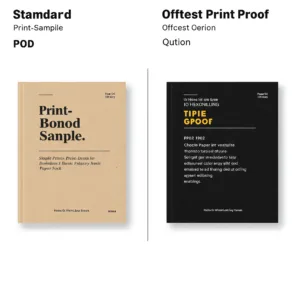
- Request Samples: Seeing and feeling the quality of their work is essential.
- Read Online Reviews: Get insights from other customers’ experiences.
- Ask About Their Printing Process and Quality Control Measures: This shows you’re serious about quality and helps you gauge their commitment to excellence.
DIY Hardcover Book Binding
Feeling crafty? Why not try your hand at binding your own hardcover book? It’s a rewarding experience that allows for complete creative control.
Gathering Materials
You’ll need a few essential supplies:
- Book board: This sturdy material forms the foundation of your cover.
- Cover fabric: Choose a fabric that complements your book’s design.
- Adhesive: A strong adhesive is crucial for binding the book together.
- Bone folder: This tool helps create crisp folds and smooth out wrinkles.
- Other tools: Scissors, ruler, cutting mat, pencil
You can find these materials at art supply stores or online retailers.
Step-by-Step Binding Tutorial
- Cut and Measure: Measure and cut the book board to the correct size for your cover and spine.
- Attach the Cover Fabric: Apply adhesive to the book board and carefully wrap it with your chosen fabric.
- Create the Spine and Hinges: Form the spine and hinges using separate pieces of book board and fabric.
- Adhere the Book Block: Glue the text block (your printed pages) to the cover, ensuring it’s aligned correctly.
There are many online resources and tutorials available to guide you through the process. With patience and practice, you can create a beautiful and unique hardcover book.
Frequently Asked Questions (FAQs)
Here are answers to some common questions about printing hardcover books:
- How do I get an ISBN for my hardcover book?
You can purchase an ISBN through your country’s ISBN agency. In the US, this is Bowker Identifier Services. - What is the difference between case binding and perfect binding?
Case binding is more durable and involves sewing the pages together, while perfect binding is more economical and uses glue. - Can I print a single hardcover book?
Yes, many print-on-demand services allow you to print single copies. - What are the standard sizes for hardcover books?
Common sizes include 6″ x 9″, 5.5″ x 8.5″, and 8″ x 10″. - How can I protect the copyright of my book?
Register your copyright with the Copyright Office in your country.
Conclusion
Congratulations! You’ve reached the end of our comprehensive guide to printing hardcover books. We’ve covered everything from preparing your manuscript to choosing a printer and even explored the art of DIY bookbinding.
Remember, printing a hardcover book is an investment in your work. It’s a way to give your words the physical presence they deserve. Whether you’re a self-published author, a business owner, or simply someone with a story to tell, a hardcover book can make a lasting impression.
So, what are you waiting for? Bring your vision to life and print your hardcover book today! Contact us to discuss your project and get a free quote.
Resources
- What Is Bleed in Printing and Why Does It Matter?
- 10 Types of Book Binding You Should Know About (With Examples)
- Offset vs Digital Printing: Which Is Right for YOU?
- How Much Does It Cost to Print a Book in 2024?
- How Much Does It Cost to Print a Hardcover Book?
- Hardcover vs Softcover Books: Which Should YOU Choose?
- Paperback vs Hardback: Which is BEST? (Pros & Cons)
- What is a Hardcover Book? A Guide for Publishing Pros


